Guides
How to reseal a bathtub with silicone sealant
How to reseal a bathtub step by step: removing old silicone, cleaning and drying the joint, applying a neat bead of sealant and letting it cure properly.
 Bitezine Editorial TeamRankings, reviews & guides 5 min read
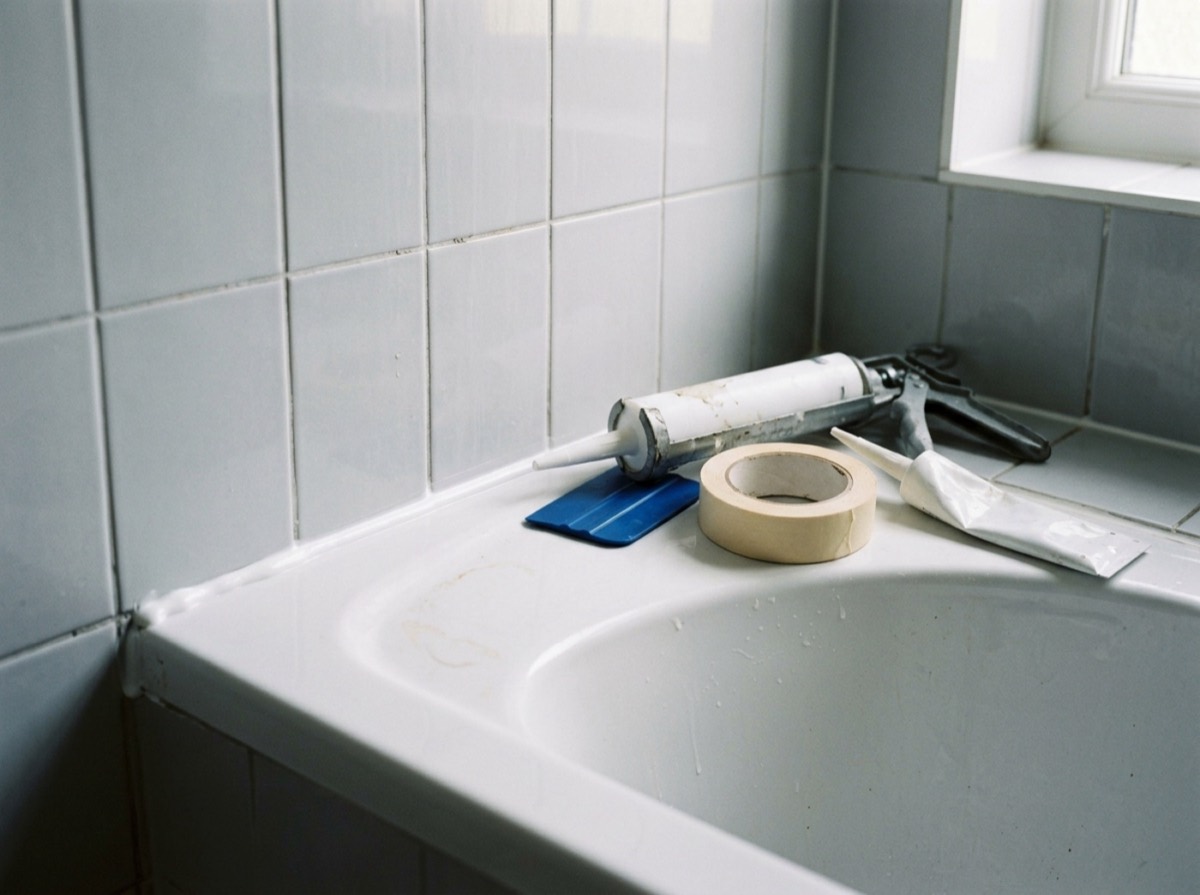 AI generated
Learning how to reseal a bathtub is a small DIY job that protects your bathroom from a big problem. The flexible seal between the bath and the wall stops water from getting behind the tub, where it can damage walls, floors and ceilings below.
Over time, sealant discolours, grows mould, peels away or cracks. This guide explains how to remove the old sealant, prepare the joint, apply a clean bead of new silicone and let it cure so it lasts.
When does a bathtub need resealing?
Check the seal around your bath regularly. It is time to replace it if you see any of these signs.
- Black mould spots that do not come out with cleaning.
- Gaps, cracks or sections peeling away from the tiles or the bath.
- Water marks, damp patches or loose tiles near the bath.
- Staining or damp on the ceiling of the room below.
- Sealant that feels hard or brittle instead of flexible.
Choosing the best sealant for a bath
Use a sealant made for bathrooms and sanitary use, usually labelled for baths, showers or sanitary applications. Silicone sanitary sealants stay flexible, resist water and typically contain a fungicide to slow mould growth. Acrylic sealants are easier to paint and tidy but are generally less suited to joints that stay wet and move.
Pick a colour that matches your bath or tiles; white and clear are the most common. You will also need a sealant gun if the sealant comes in a standard cartridge.
Fill the bath with water before you seal it, so the new bead is not torn the first time you use it.
What you need
Having everything ready makes the application faster and neater.
- Bathroom silicone sealant and a sealant gun.
- A sealant removal tool, plastic scraper or sharp utility knife.
- Silicone remover gel or a solvent recommended by the sealant maker (optional).
- Masking tape.
- A sealant smoothing tool or a lightly soaped fingertip.
- Cleaning cloths, a mild cleaner and a mould remover.
- Gloves and good ventilation.
How to remove old silicone sealant
New sealant does not bond well to old sealant, so remove all of it. Cut along both edges of the old bead with a sealant removal tool or a knife, holding the blade low to avoid scratching the bath or tiles, particularly on acrylic baths. Pull the strip away, then scrape off any remaining bits.
A silicone remover gel can soften stubborn residue; follow its instructions and wipe it off completely. Finish by cleaning the joint with a suitable cleaner. If there is mould in the gap, treat it with a mould remover, rinse and let it dry. Work carefully with sharp blades and keep them pointed away from you.
Prepare the joint: fill the bath and let it dry
The joint must be completely clean and dry before sealing, otherwise the silicone will not stick and mould can return quickly. Leave it to dry thoroughly, ideally for several hours or overnight, with the window open or the extractor fan running. Wipe it with a cleaner that leaves no residue, such as the one recommended by the sealant maker, just before you start.
Here is a tip that makes a big difference: fill the bath with water before you apply the sealant. The weight lowers the bath slightly, just as it will when someone is in it. Sealing it in this position stops the new bead from being stretched and torn the first time the bath is used. Leave the water in until the sealant has cured.
Finally, apply masking tape along both sides of the joint, one strip on the tiles and one on the bath, leaving a gap the width you want the bead to be.
How to reseal a bathtub step by step
Work on one side of the bath at a time so the sealant stays workable.
- Cut the cartridge nozzle at a 45-degree angle, making the opening slightly smaller than the gap you need to fill. You can widen it later if needed.
- Load the cartridge into the gun and pierce the seal inside the nozzle if required.
- Hold the gun at a steady angle and squeeze gently while moving along the joint in one continuous motion. Aim for an even bead that fills the gap without gaps or blobs.
- Smooth the bead straight away with a smoothing tool or a fingertip dipped in soapy water, pressing lightly so the sealant contacts both surfaces.
- Wipe excess sealant from the tool as you go.
- Remove the masking tape immediately after smoothing, pulling it away from the joint at a low angle, before the sealant forms a skin.
- Repeat on the other sides, taking care at corners.
Curing time and aftercare
Silicone usually becomes touch-dry quickly but needs longer to cure fully. Many bathroom sealants need around 24 hours before contact with water, and some take longer, so follow the time on the cartridge. Keep the room ventilated and avoid using the bath or shower until then. Once the sealant has cured, drain the water from the bath.
To make the new seal last, wipe it dry after bathing, keep the room ventilated and clean it gently with a non-abrasive cleaner. Replace it whenever it starts to peel, crack or show mould that will not clean off.
Frequently asked questions
Can I put new silicone over old silicone?
+
It is not recommended. New silicone does not bond well to old sealant, and any mould underneath will continue to grow. Remove the old bead completely and clean the joint first.
Should I fill the bath with water before sealing?
+
Yes. Filling the bath lowers it slightly, as it would be when in use, so the sealant is not stretched and torn later. Leave the water in until the sealant has cured.
How long before I can use the bath after resealing?
+
Follow the sealant cartridge, but many bathroom silicones need about 24 hours before contact with water. Some products need longer, especially in cold or humid rooms.
How do I get a neat silicone finish?
+
Use masking tape on both sides of the joint, apply one steady bead, smooth it at once with a tool or soapy fingertip and remove the tape before the sealant skins over.
Why does my bath sealant keep cracking?
+
Common causes are sealing an empty bath that later drops under weight, applying sealant to a damp or dirty joint, or a gap that is too wide. Fill the bath first, prepare the joint thoroughly and use a backing strip for wide gaps if the product recommends it.
How often should bath sealant be replaced?
+
There is no fixed interval. Replace it when it peels, cracks, shrinks or shows mould that does not clean off. Well-ventilated bathrooms tend to keep their sealant looking good for longer.
Once you know how to reseal a bathtub, the job takes an afternoon plus curing time: remove every trace of old sealant, clean and dry the joint, fill the bath with water, tape the edges and apply one smooth bead. Give it time to cure, and the new seal will keep water where it belongs.
How we research: Guides are written from established sources and checked for accuracy. They are general information, not professional advice.
Written by
Bitezine Editorial Team
Rankings, reviews & guides
Our editors research every piece from makers’ documentation, independent tests and owner reports, and update it when products change.