Guides
How to patch a hole in a wall: small, medium and large repairs
How to patch a hole in a wall, from screw holes to fist-sized damage in plasterboard: the materials, step-by-step methods and how to get an invisible finish.
 Bitezine Editorial TeamRankings, reviews & guides 6 min read
 AI generated
Knowing how to patch a hole in a wall saves a call-out fee and is a standard job before painting or moving out. Screw holes, dents from door handles and fist-sized breaks in plasterboard can all be repaired with a few inexpensive materials and some patience while each layer dries.
This guide explains how to tell what your wall is made of, what to check before you start, and the right method for small, medium and large holes. It finishes with the sanding, priming and painting steps that decide whether anyone will ever spot the repair.
Plasterboard or solid plaster? Identify your wall first
Most modern interior walls are plasterboard, also called drywall or gypsum board: a gypsum core faced with paper and fixed to timber or metal studs. Tap it and it sounds hollow between studs. Older homes and many outside walls have solid plaster over brick, stone or concrete, which sounds dull and feels hard.
The difference matters for larger holes. A plasterboard hole needs something behind it for support, while a hole in solid plaster can be built up from the masonry behind it. Small holes are filled the same way in both.
Safety checks before you start
Before you cut or screw into a wall, check for hidden pipes and electrical cables. A handheld detector helps, and it is worth remembering that cables often run straight up, down or across from sockets and switches. Switch off the circuit if you will be cutting near one.
Sanding filler creates fine dust, so wear a dust mask and safety glasses and lay down a dust sheet. In homes built or refurbished before asbestos was banned, which in much of Europe means before the 1990s, some textured wall and ceiling coatings and older fillers can contain asbestos. Do not sand, scrape or cut suspect textured finishes until they have been tested. Very old paint may also contain lead, which should not be dry-sanded.
Several thin coats of filler will always beat one thick one.
What you need to patch a hole in a wall
Pick filler to match the job. Ready-mixed lightweight filler is easiest for small holes; powder filler that you mix with water sets harder and suits deeper repairs; joint compound is the standard for plasterboard patches and joints.
- Filler or joint compound
- A flexible filling knife, plus a wider one for larger patches
- Fine and medium sandpaper and a sanding block
- Self-adhesive fibreglass mesh or a metal-backed wall patch for medium holes
- An offcut of plasterboard, a strip of timber, drywall screws and joint tape for large holes
- A utility knife and a small plasterboard saw
- Primer or diluted emulsion and matching wall paint
How to fill small holes and cracks
Nail holes, screw holes, raw plugs and hairline cracks are the easiest repairs. Pull out any plugs or loose screws first; pliers or a screw gently turned into the plug usually free them. If a plug will not budge, push it slightly below the surface with a screwdriver so filler can cover it.
- Scrape away loose material and brush out the dust
- For cracks, open them slightly into a shallow V with the corner of a knife so filler has something to grip
- Lightly dampen the hole in solid plaster to stop the filler drying too fast
- Press filler firmly into the hole with the knife, then draw the blade across to leave it slightly proud of the surface
- Let it dry fully; the packet gives the time, and deeper fills take longer
- Sand flush with fine sandpaper on a block
How to fix a medium hole in plasterboard with a mesh patch
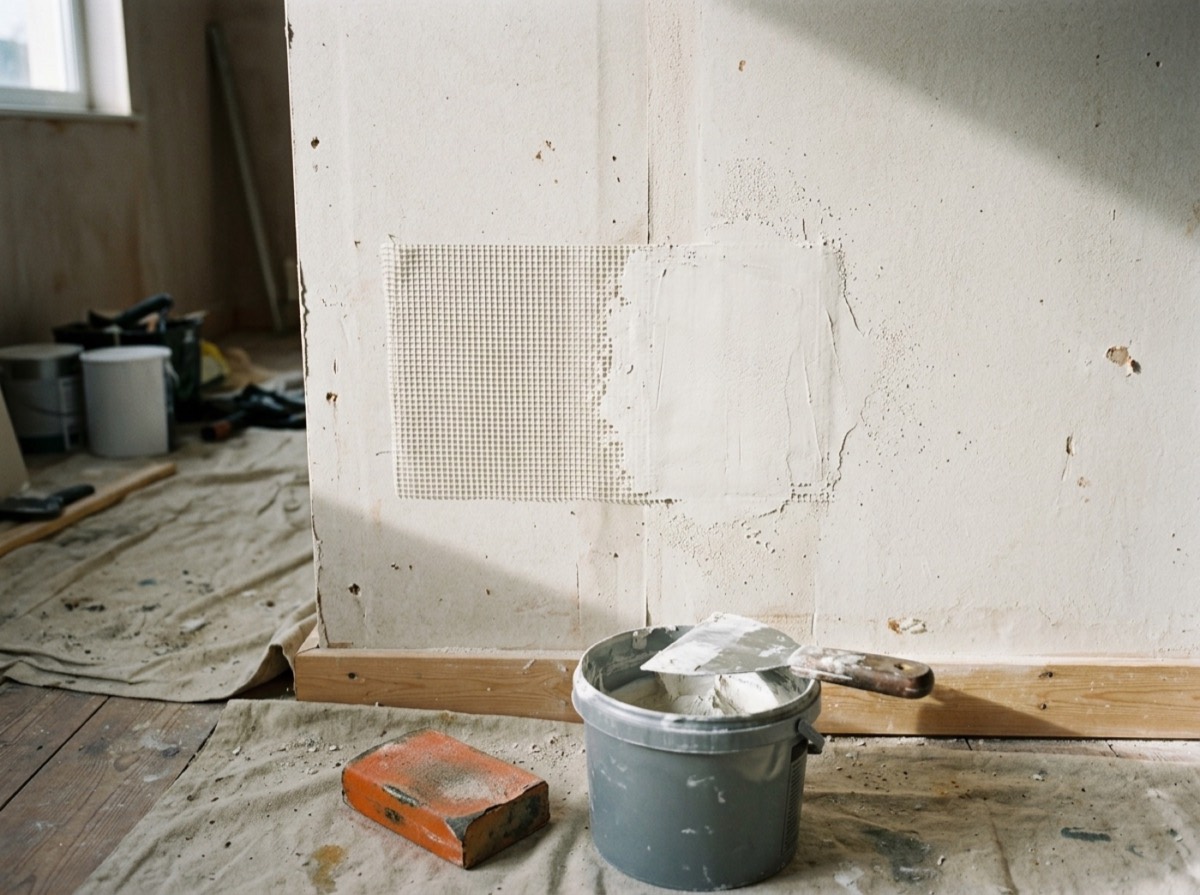
For holes up to about the size of a fist, such as damage from a door handle, a self-adhesive mesh patch gives the filler a base to hold onto.
- Trim away torn paper and crumbled gypsum so the edge is firm
- Sand the wall around the hole lightly so the patch sticks
- Centre the mesh patch over the hole, overlapping solid wall by a few centimetres on each side, and press it flat
- Spread a thin coat of joint compound over the mesh, extending beyond its edges
- Let it dry, sand lightly, then apply a second, wider coat
- Add a third thin coat if the mesh still shows, feathering the edges further out each time
- Sand smooth once completely dry
How to fix a large hole in a wall
Holes bigger than a fist in plasterboard need a new piece of board. Draw a neat square or rectangle around the damage and cut it out with a plasterboard saw, checking for cables and pipes first.
Cut two strips of timber a little longer than the height of the opening. Slide them behind the board at each side, so half of each strip sits behind the existing wall, and screw through the plasterboard into them. They now act as a frame for the new piece.
Cut a piece of plasterboard of the same thickness to fit the opening and screw it to the battens, sinking the screw heads just below the paper without tearing it. Cover the joints with paper or mesh tape bedded in joint compound, then apply two or three thin, progressively wider coats, sanding between them.
In solid plaster, remove loose material back to firm edges, dampen the area and build the hole up in layers of a suitable plaster or deep-fill filler, letting each layer firm up before adding the next. A final thin skim brings it level with the wall.
Sanding, priming and painting for an invisible repair
A good repair disappears only when the patched area is truly flat and sealed. Hold a torch flat against the wall; its raking light shows ridges and dips that are invisible head-on. Fill and sand again where needed.
Several thin coats beat one thick coat. Thick filler shrinks, cracks and takes far longer to dry. Feather each coat wider than the last so the edge blends into the wall.
Always prime bare filler before painting. Filler absorbs paint differently from the surrounding wall, which leaves a dull or shiny patch known as flashing. Use a primer or a mist coat of watered-down emulsion, then paint. If one coat of wall paint still shows the patch, paint the whole wall from corner to corner rather than just the repair.
Frequently asked questions
What is the easiest way to fill screw holes in a wall?
+
Remove any plugs, clean out loose dust, press ready-mixed filler into the hole with a flexible knife and leave it slightly proud. Once dry, sand it flush, prime and paint.
Can you patch a hole in plasterboard without a patch kit?
+
Small holes can be filled directly. For bigger holes you need support behind the filler, either a mesh patch or a piece of new plasterboard screwed to timber battens fixed behind the opening.
How long does wall filler take to dry before sanding?
+
Thin fills in ready-mixed filler often dry within an hour or two, while deeper fills and joint compound can take several hours or overnight. Follow the packet and make sure the filler is dry all the way through before sanding.
Why does my filler crack or sink?
+
Filler shrinks as it dries, especially when applied thickly. Build deep holes in several thin layers, let each dry, and slightly overfill the final coat before sanding it flat.
Do I need to prime filler before painting?
+
Yes. Bare filler soaks up paint and leaves a visible dull patch. A coat of primer or a watered-down mist coat seals it so the top coat matches the rest of the wall.
What is the difference between filler and joint compound?
+
Filler is designed for holes, cracks and dents in plaster and plasterboard. Joint compound is made for spreading in wide, thin coats over plasterboard joints and patches, and is easier to feather and sand over large areas.
Patching a hole in a wall is mostly about matching the method to the size: filler alone for small holes, a mesh patch for medium damage in plasterboard, and a new piece of board on timber battens for anything larger. Check for cables and pipes, be cautious with dust in older homes, build up thin coats and prime before painting. Take your time on the sanding, and the repair will vanish under the final coat.
How we research: Guides are written from established sources and checked for accuracy. They are general information, not professional advice.
Written by
Bitezine Editorial Team
Rankings, reviews & guides
Our editors research every piece from makers’ documentation, independent tests and owner reports, and update it when products change.