Guides
How to fix a bike puncture: patch or replace an inner tube
How to fix a bike puncture at home or at the roadside: the tools you need, how to remove the tyre, find the hole, patch or swap the tube and avoid repeat flats.
 Bitezine Editorial TeamRankings, reviews & guides 7 min read
 AI generated
Learning how to fix a bike puncture is the single most useful repair a cyclist can master. A flat tyre can end a ride miles from home, yet the fix takes around 15 minutes with a few cheap tools, and once you have done it twice it becomes routine.
This guide walks through the whole job: the kit to carry, removing the wheel and tyre, finding the hole and its cause, patching or replacing the inner tube, refitting without pinching, and inflating to the right pressure. It also covers tubeless tyres and how to cut down on flats.
What you need to fix a bike puncture
A small saddle bag holds everything. Check that your pump or spare tube matches your valve type before you set off: Presta valves are slim, about 6 mm across, with a small locknut at the tip, while Schrader valves are wider, about 8 mm, and look like car tyre valves. Some city and older bikes use Dunlop (Woods) valves.
Many riders carry a spare tube and fit it at the roadside, then patch the punctured tube at home to keep as the next spare.
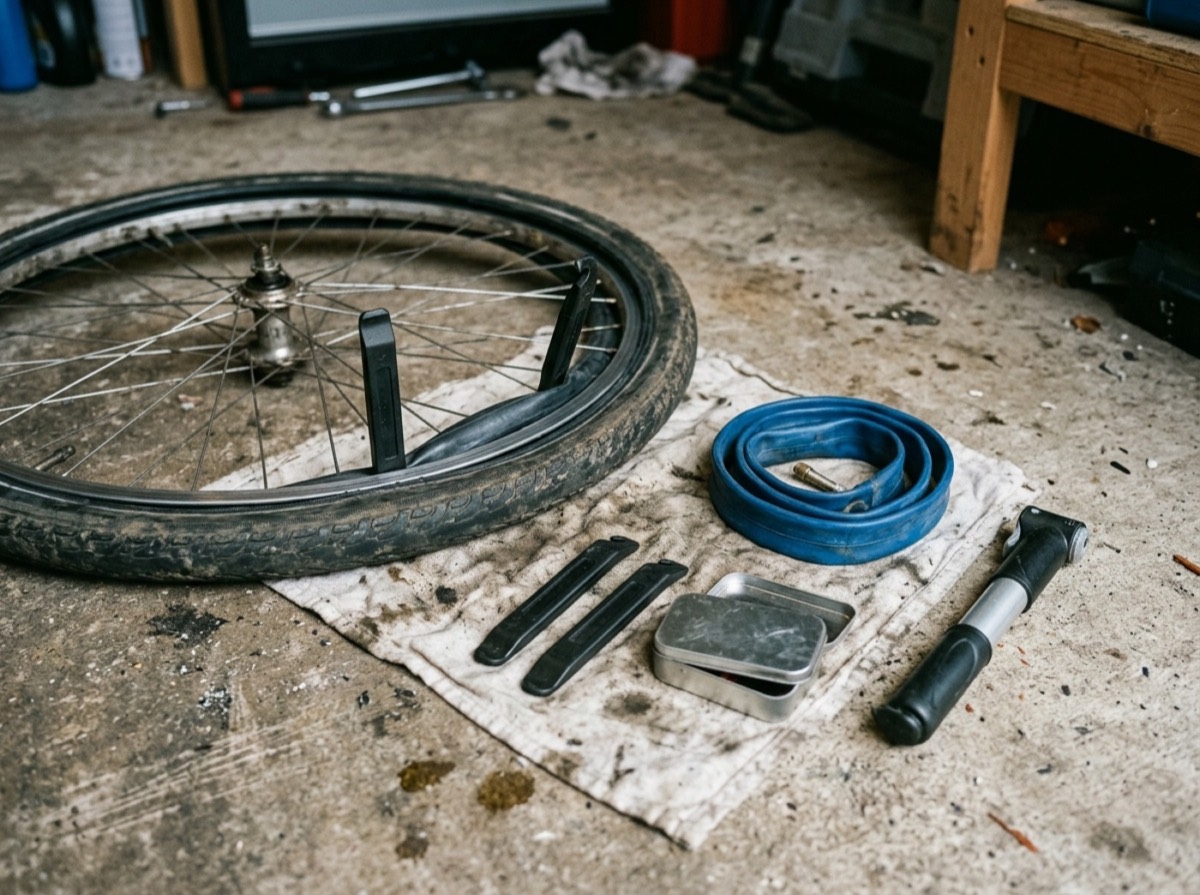
- Two or three plastic tyre levers
- A spare inner tube in the right size (printed on the tyre sidewall)
- A puncture repair kit with patches, sandpaper and vulcanising fluid, or self-adhesive patches
- A mini pump or CO2 inflator that fits your valve
- A multi-tool or spanner if your wheels are bolted on rather than quick release
- Disposable gloves and a rag (optional, but chains are grimy)
How to remove the wheel
Shift into the smallest rear cog first if the rear tyre is flat; it makes the wheel much easier to remove and refit. Turn the bike upside down, or hang it by the saddle, so it rests steadily.
With rim brakes, open the brake quick-release lever or unhook the cable so the tyre passes between the pads. With disc brakes, nothing needs releasing, but do not squeeze the brake lever while the wheel is out, as the pads can close together.
Open the quick-release lever, or unscrew the thru-axle or axle nuts, and lift the wheel out. For the rear wheel, pull the derailleur back gently so the chain comes off the cog.
A new tube will not stay inflated if the thorn that caused the flat is still in the tyre.
How to remove a bike tyre and inner tube
Let out any remaining air. On a Presta valve, unscrew the locknut and press it; on a Schrader, press the pin in the centre. If there is a nut holding the valve to the rim, remove it.
Squeeze the tyre all the way round to push both edges, the beads, into the deeper centre of the rim. This creates slack. Hook a tyre lever under one bead opposite the valve, lever it over the rim wall and clip the lever to a spoke. Insert a second lever about 10 cm along and repeat, then slide it around the rim until one side of the tyre is free.
Pull the inner tube out, starting away from the valve and finishing by pushing the valve out through the rim hole. You can usually leave the other side of the tyre on the rim.
How to find a puncture and its cause
Pump a little air into the tube and listen or feel for escaping air; holding the tube near your lips or cheek helps. At home, pass the inflated tube through a bowl of water and look for a stream of bubbles. Mark the hole with a pen or chalk.
Finding the cause is the step people skip, and it is why a new tube often goes flat within minutes. Line the tube up against the tyre with the valve at the valve hole, and the hole in the tube shows you where to look.
- A single small hole on the outer side: something sharp in the tyre. Run your fingers carefully around the inside of the tyre, or use a cloth that snags, and remove glass, thorns or wire
- Two parallel slits, often called a snakebite: a pinch flat from hitting a kerb or pothole with too little pressure
- A hole on the inner side facing the rim: a damaged or shifted rim tape exposing a spoke hole or a sharp edge
- A long tear: a blowout, often from a tube caught under the tyre bead or a damaged tyre
How to patch a bike inner tube
Patching works well for small holes away from the valve. Tears, holes at the valve and large splits mean the tube should be replaced.
- Deflate the tube and dry it
- Roughen an area slightly larger than the patch with the sandpaper
- Spread a thin, even layer of vulcanising fluid over that area
- Wait until the fluid turns from glossy to matt and feels dry to the touch, usually a few minutes; this is the step most often rushed
- Peel the backing foil off the patch without touching the underside and press it firmly over the hole
- Press hard from the centre outwards for a minute or two, then leave it to set
- Inflate slightly to check the seal before refitting
How to refit the tube and tyre without pinching
Put just enough air in the tube to give it shape. Push the valve through the rim hole, straight and pointing towards the hub, then tuck the tube inside the tyre all the way round so it sits evenly.
Starting at the valve, press the tyre bead back over the rim wall with your thumbs, working both hands around the wheel. The last section is the tightest: let out a little air, push the beads already fitted into the centre channel of the rim, and roll the final part on with the heels of your hands. Use a tyre lever only as a last resort, because levers can trap and pinch the new tube.
Before inflating, go round the wheel and squeeze the tyre to check that no tube is caught between the bead and rim. Push the valve up into the tyre briefly, then pull it back, so the tube near the valve is not trapped.
How much air should you put in bike tyres?
Inflate to within the pressure range printed on the tyre sidewall, never above the maximum, and not above any limit printed on the rim. Lighter riders and rough surfaces suit the lower end; heavier riders and smooth roads suit the higher end.
Stop halfway and check that the thin moulding line just above the rim sits at an even height all round on both sides. If it dips or bulges, deflate, massage the tyre into place and try again. Refit the wheel, close the quick release or tighten the axle firmly, reconnect rim brakes, and spin the wheel to check it runs straight and the brakes work before you ride.
Tubeless tyres and preventing punctures
Tubeless tyres use liquid sealant that plugs most small holes by itself as you ride. For larger cuts, a tubeless repair plug pushed into the hole usually seals it well enough to get home. If that fails, remove the valve and fit an ordinary inner tube as a backup, after pulling out any thorn that could puncture it.
Most flats can be avoided with a few habits.
- Check tyre pressure weekly; low pressure is the main cause of pinch flats
- Replace tyres when the tread is worn flat, cracked or cut
- Look for embedded glass and flints after riding on debris-strewn roads
- Consider puncture-resistant tyres for commuting
- Top up tubeless sealant every few months, as it dries out
Frequently asked questions
How long does it take to fix a bike puncture?
+
Swapping in a spare tube takes around 10 to 15 minutes once you are practised. Patching takes a little longer because the vulcanising fluid has to dry before the patch goes on.
Is it better to patch or replace an inner tube?
+
A well-applied patch is reliable for small holes. At the roadside, fitting a spare tube is quicker. Replace the tube if the hole is next to the valve, is a long tear or if the tube already has several patches.
Why does my new inner tube keep going flat?
+
Usually the object that caused the first puncture is still stuck in the tyre, the rim tape is exposing a spoke hole, or the tube was pinched while refitting. Check the inside of the tyre and the rim carefully before fitting another tube.
Can I fix a bike puncture without tyre levers?
+
On looser tyres you can often roll the bead off with your thumbs after pushing both beads into the centre of the rim. Tight tyres generally need levers. Avoid screwdrivers, which can damage the rim and tube.
What is a pinch flat?
+
A pinch flat happens when the tyre is squashed against the rim, for example on a kerb or pothole, and the tube is nipped in two places. It leaves two small parallel slits and is mostly prevented by keeping tyres at the correct pressure.
How do I know which inner tube size to buy?
+
Read the size on the tyre sidewall, such as a diameter and width in inches or an ISO number like 37-622. Buy a tube that covers that diameter and width range, with the same valve type and a valve long enough for your rim depth.
Fixing a bike puncture comes down to a clear sequence: remove the wheel, lever off one side of the tyre, find both the hole and its cause, patch or replace the inner tube, refit it without pinching and inflate to the pressure on the sidewall. Carry levers, a pump and a spare tube on every ride, check your tyre pressure often, and a flat tyre becomes a short pause rather than the end of your trip.
How we research: Guides are written from established sources and checked for accuracy. They are general information, not professional advice.
Written by
Bitezine Editorial Team
Rankings, reviews & guides
Our editors research every piece from makers’ documentation, independent tests and owner reports, and update it when products change.